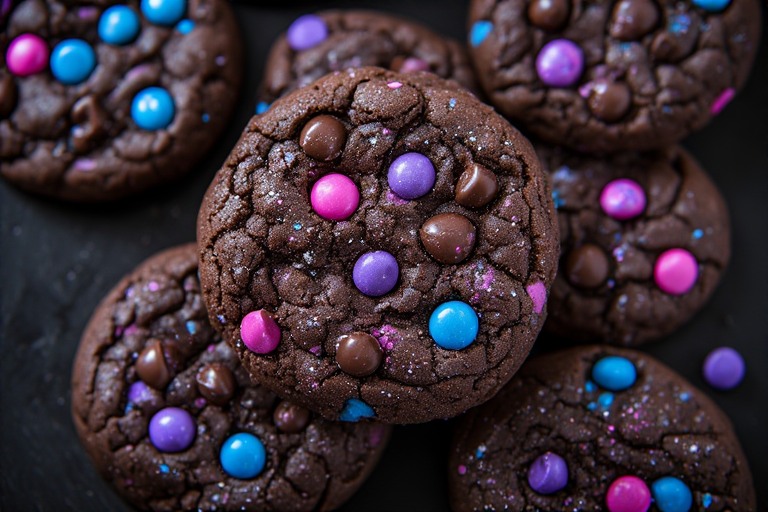
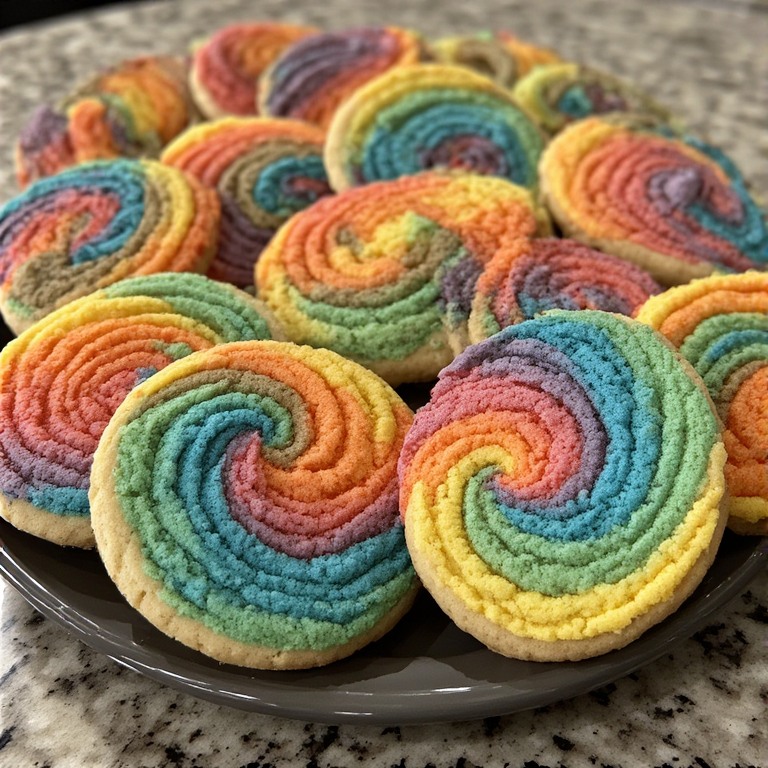
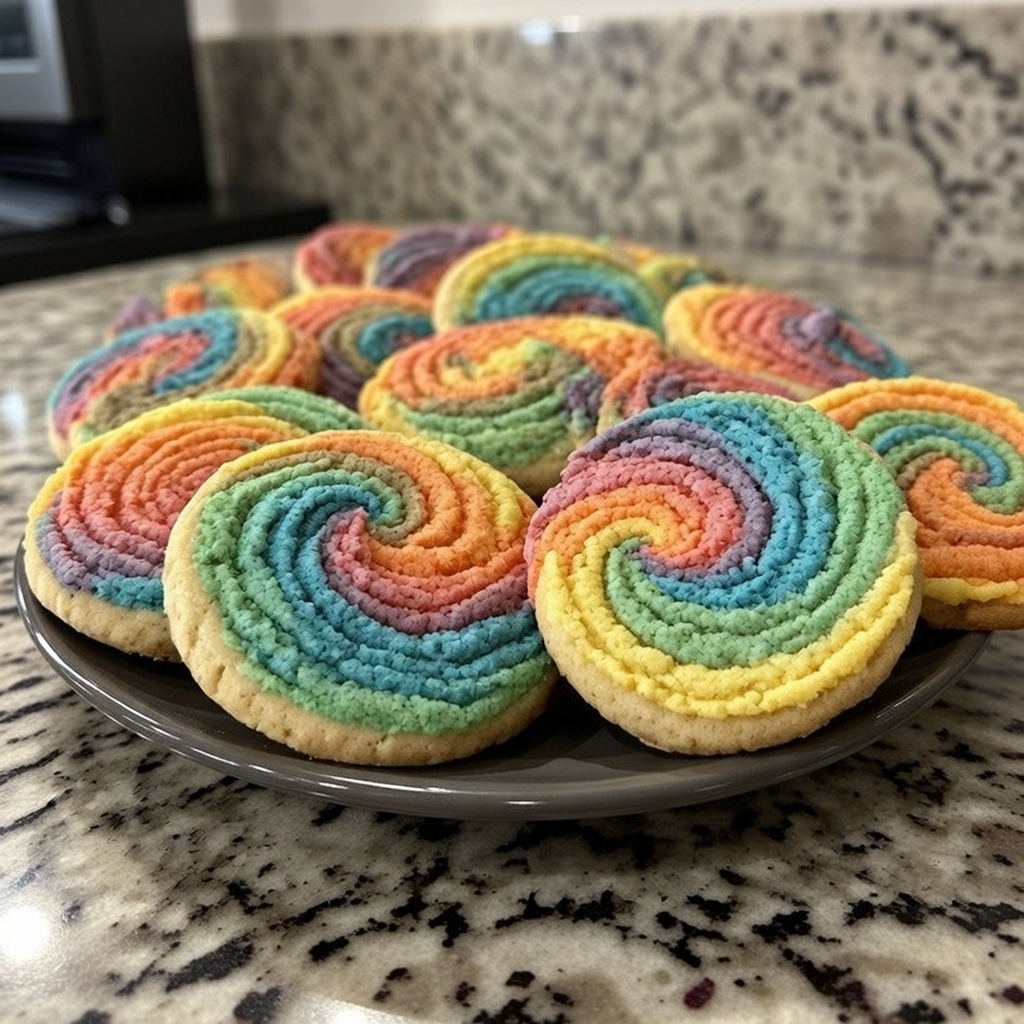
These colorful swirl cookies are soft, buttery sugar cookies with vibrant streaks of color running through each slice. They are eye-catching, fun, and perfect for parties, birthdays, or themed dessert tables. The dough is tinted in multiple shades, layered, rolled together, and sliced to reveal a beautiful marbled or spiral pattern.
Ingredients (Makes 24–30 cookies)
For the Dough
- 1 cup (225g) unsalted butter, softened
- 1 cup (200g) granulated sugar
- 1 large egg
- 1 teaspoon vanilla extract
- 2 1/2 cups (315g) all-purpose flour
- 1/2 teaspoon baking powder
- 1/4 teaspoon salt
For Coloring
- Gel food coloring (red, blue, yellow, green, purple, or any desired colors)
Equipment
- Mixing bowls
- Hand or stand mixer
- Plastic wrap
- Rolling pin
- Sharp knife
- Baking tray
- Parchment paper
Instructions
1. Prepare the Dough
Cream butter and sugar together until light and fluffy (about 2–3 minutes).
Add egg and vanilla extract. Mix until combined.
In a separate bowl, whisk flour, baking powder, and salt. Gradually add to the butter mixture and mix until a soft dough forms.
2. Divide and Color
Divide dough evenly into 3–5 portions depending on how many colors you want.
Add a small amount of gel food coloring to each portion and knead gently until evenly colored. Use gloves to prevent staining.
3. Roll and Layer
Option A – Swirl Style
Roll each colored dough portion into a thin rectangle of similar size.
Stack them on top of each other.
Gently roll into a tight log (like a jelly roll).
Option B – Marble Style
Lightly twist pieces of different colored dough together.
Roll into a log to create a marbled effect.
Wrap the log tightly in plastic wrap and chill for at least 1 hour.
4. Slice and Bake
Preheat oven to 175°C (350°F).
Slice chilled dough into 1/4-inch thick rounds.
Place on lined baking tray, spacing 2 inches apart.
Bake for 10–12 minutes until edges are set but not browned.
5. Cool
Allow cookies to cool on the tray for 5 minutes before transferring to a wire rack.
Professional Tips
- Use gel food coloring rather than liquid to avoid altering dough texture.
- Chill the dough thoroughly to keep colors distinct.
- For extra brightness, use white sugar instead of brown sugar.
- If colors blend too much, chill between each handling step.
Variations
- Add sprinkles inside the dough for a confetti effect.
- Dip half of each cookie in white chocolate after baking.
- Create themed colors for holidays (red/green for Christmas, pastel for Easter, etc.).
Storage
- Store in an airtight container at room temperature for up to 5 days.
- Dough log can be frozen for up to 2 months and sliced before baking.

Rainbow Swirl Sugar Cookies
Equipment
- mixing bowls
- hand or stand mixer
- plastic wrap
- Rolling Pin
- sharp knife
- baking tray
- parchment paper
Ingredients
- 1 cup unsalted butter, softened (225g)
- 1 cup granulated sugar (200g)
- 1 large egg
- 1 teaspoon vanilla extract
- 2 1/2 cups all-purpose flour (315g)
- 1/2 teaspoon baking powder
- 1/4 teaspoon salt
- gel food coloring (red, blue, yellow, green, purple, or desired colors)
Instructions
- Cream butter and sugar together until light and fluffy, about 2–3 minutes. Add egg and vanilla extract and mix until combined. In a separate bowl, whisk flour, baking powder, and salt. Gradually add dry ingredients to the butter mixture and mix until a soft dough forms.
- Divide dough evenly into 3–5 portions depending on desired colors. Add gel food coloring to each portion and knead gently until evenly colored. Use gloves to prevent staining.
- For swirl style, roll each colored dough into similar rectangles, stack, and roll tightly into a log. For marble style, lightly twist different colored pieces together and roll into a log. Wrap tightly in plastic wrap and chill for at least 1 hour.
- Preheat oven to 175°C (350°F). Slice chilled dough into 1/4-inch thick rounds and place on a parchment-lined baking tray 2 inches apart. Bake for 10–12 minutes until edges are set but not browned.
- Allow cookies to cool on the tray for 5 minutes before transferring to a wire rack to cool completely.
Notes
Q & A
Q: My colors turned out muddy and blended together. What went wrong?
A: This is the most common challenge with swirl cookies! The main culprit is usually the dough being too warm when you roll and slice it. If the butter in the dough is soft, the colors will smear into each other. Make sure you chill the log for the full hour (or longer) until it’s very firm. If your kitchen is warm, you can also chill the colored dough portions for 15 minutes before you attempt to roll and stack them.
Q: Can I use liquid food coloring from the grocery store?
A: You can, but we strongly recommend gel food coloring. Liquid coloring adds extra moisture to the dough, which can affect the texture and cause the cookies to spread more in the oven. Gel colors are highly concentrated, so you get vibrant shades without altering the dough’s consistency.
Q: My cookie dough is too soft and sticky to work with. How can I fix it?
A: If the dough is sticky, don’t add more flour. Instead, wrap it in plastic wrap and chill it in the refrigerator for 30-60 minutes. This will firm up the butter and make it much easier to handle. This is especially helpful after you’ve been kneading in the colors, as the warmth from your hands can soften the dough.
Q: The cookies look great, but they turned out a bit dry. Did I do something wrong?
A: The key to a soft, buttery cookie is not to over-bake them. Keep a close eye on the oven. You want to pull them out when the edges are just set and barely starting to turn golden. They will continue to cook slightly on the hot baking tray. If you wait until the centers look fully baked, they will likely be overdone once they cool.
Q: How do I get clean, even slices without the dough log cracking?
A: Use a very sharp knife and use a gentle sawing motion rather than pressing straight down. If the log cracks, it’s usually too cold. Let it sit at room temperature for 5-10 minutes to soften just slightly before slicing. This will allow the knife to cut through cleanly without shattering the dough.
Q: My cookies spread out and lost their shape in the oven. Why?
A: This usually happens if the dough wasn’t chilled enough before baking. The butter needs to be very cold so it melts slowly in the oven, helping the cookies hold their shape. Also, be sure to measure your flour correctly (spoon it into the cup and level it off, rather than scooping directly) as too much butter or sugar relative to flour can also cause spreading.
Q: Can I make this recipe gluten-free?
A: You can try, but it will change the texture. Substitute the all-purpose flour with a good quality 1-to-1 gluten-free baking blend that contains xanthan gum. The dough might be more crumbly, so be sure to chill it well.